1. hello world
1.1 创建相关文件
helloworld.cpp
1 |
|
CMakeLists.txt
1 | cmake_minimum_required(VERSION 2.8.9) |
Note :
- 第一行用于指定 cmake 最低版本
- 第二行指定项目名称(这个名称是任意的)
- 第三行指定编译一个可执行文件,
hello_exec是第一个参数,表示生成可执行文件的文件名(这个文件名也是任意的),第二个参数helloworld.cpp则用于指定源文件。
1.2 一个基本的 cmake 流程
建议先创建一个 build 存放 cmake 释放的文件,便于管理:
1 | mkdir build |
然后在 build 文件夹里进行 cmake ;
1 | cmake .. |
Note :
- 其中的
..表示上一级目录,该处是告诉 cmake 执行的CMakeLists.txt所在目录

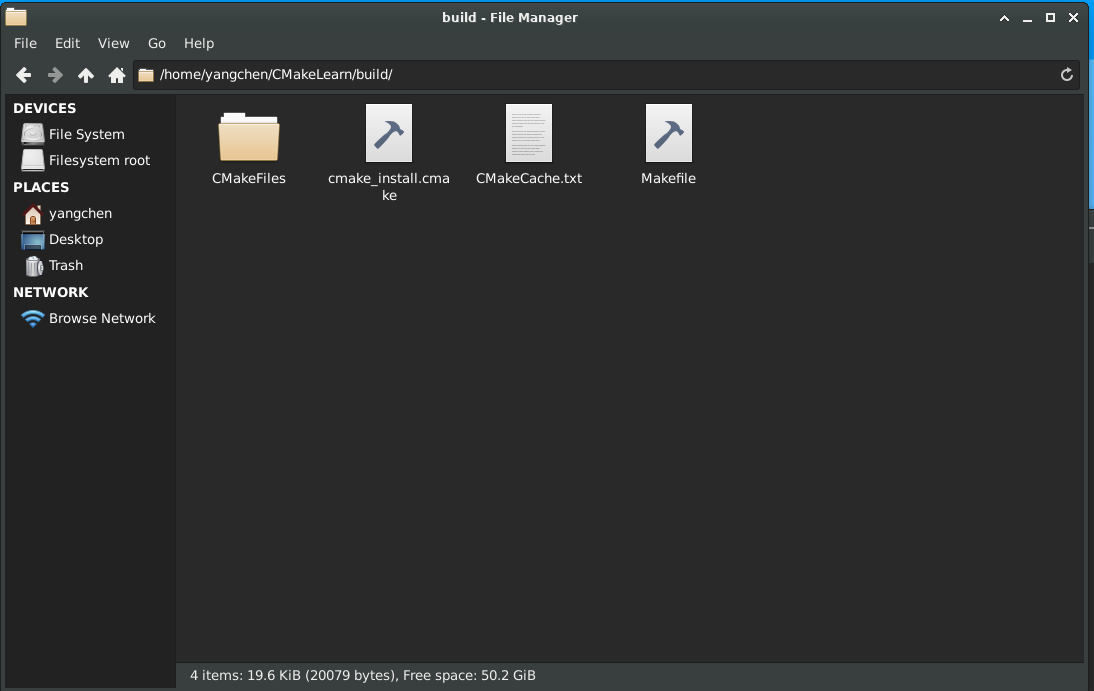
此时 cmake 已经为项目自动生成了一个 Makefile 文件:
1.3 进行 make
对 Makefile 文件进行 make 操作:
1 | make |

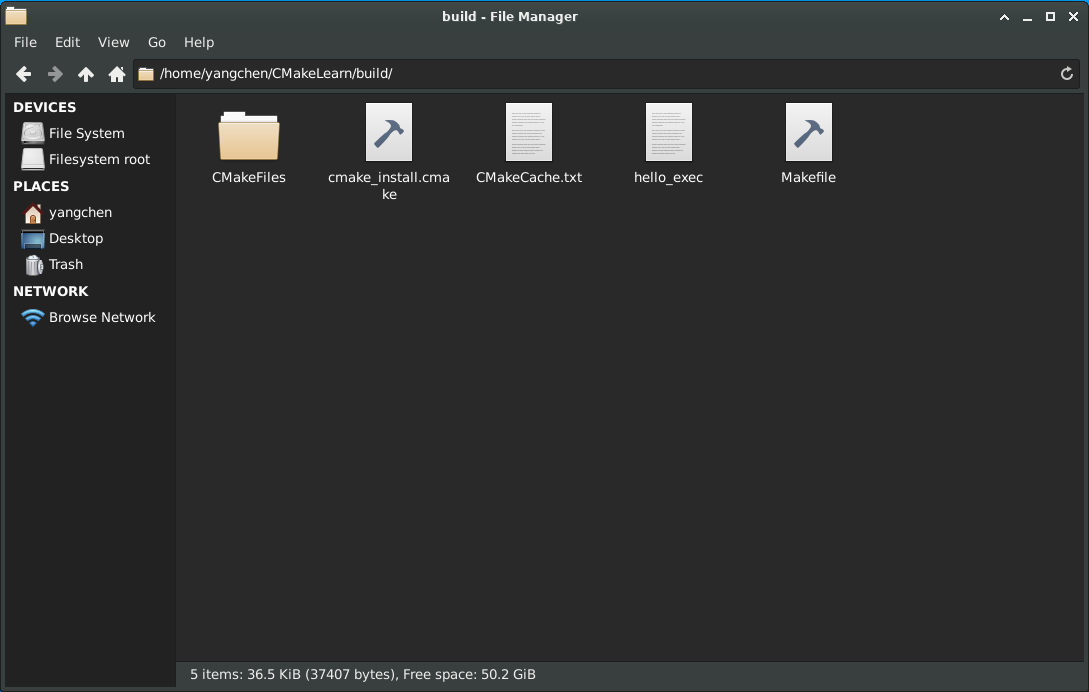
此时生成了一个名为 hello_exec 的可执行文件(该处命名是根据 1.1 中的 CMakeLists.txt 第三条语句):
1.4 运行可执行文件
1 | ./hello_exec |

Note :
- 修改代码之后,要重新进行 make 操作

- 如果调用的库文件也发生变化,意味着
CMakeLists.txt也要重新设置,此时则需要从 cmake 步骤重新开始。
2. 包含目录结构的项目
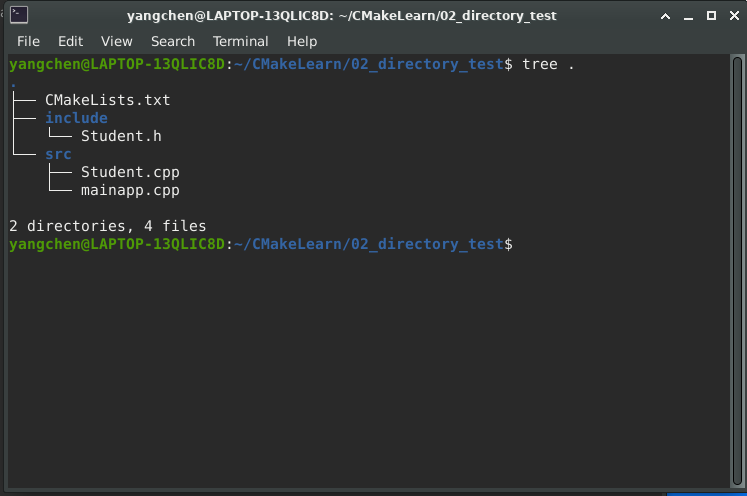
2.1 目录结构
2.2 创建文件
CMakeLists.txt
1 | cmake_minimum_required(VERSION 2.8.9) |
Note :
- 使用
include_directories()包含头文件目录; - 使用
set(SOURCES ...)或file(GLOB SOURCES ...)、file(GLOB_RECURSE SOURCES ...)设置源文件变量SOURCES; - 使用
add_executable()定义可执行文件时,使用变量SOURCES,而不是具体的文件名。
Student.h
1 |
|
Student.cpp
1 |
|
mainapp.cpp
1 |
|
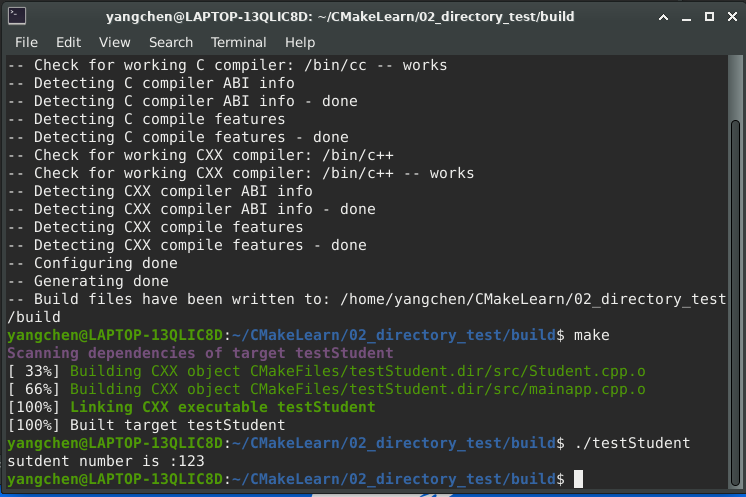
2.2 执行结果
3. 动态库编译(.so)
这里以 Student 类为例。
3.1 目录结构
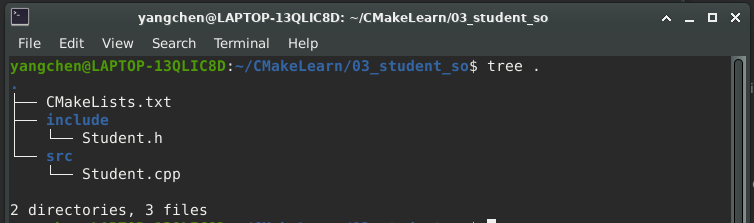
3.2 创建文件
CMakeLists.txt
1 | cmake_minimum_required(VERSION 2.8.9) |
Note :
- 不再使用
add_executable()而是使用add_library(); install(TARGETS ...)指定安装目录,执行sudo make install时动态库将被安装在/home/yangchen/CMakeLearn/myLib/目录。
3.3 安装动态库
在 cmake -> make 之后,在 /build/ 目录下生成了动态库文件 libtestStudent.so :
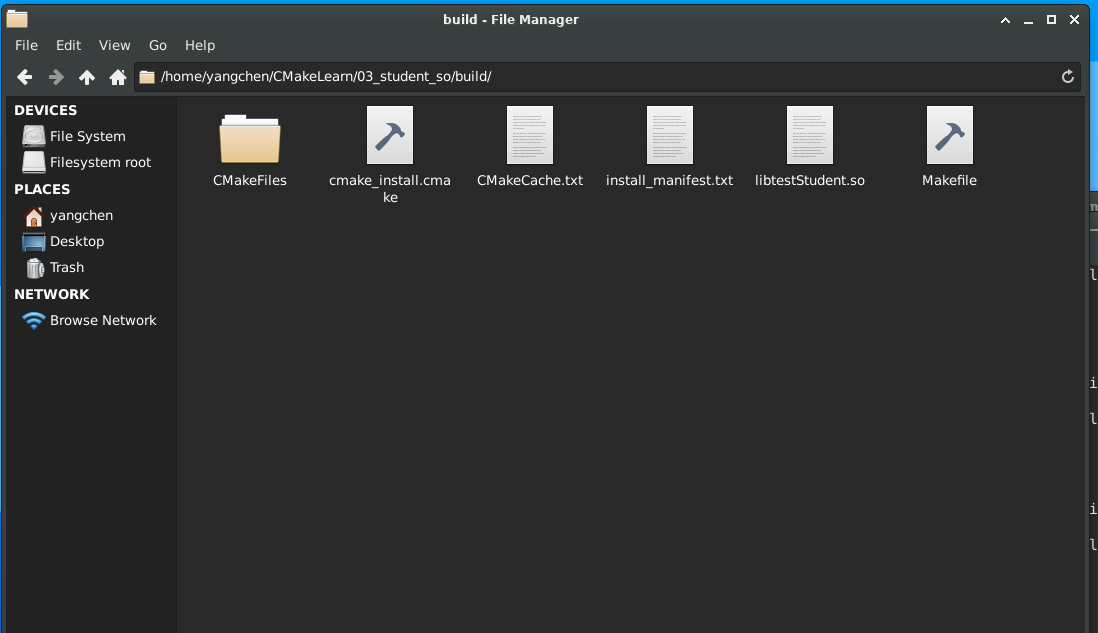
之后需要在 /build/ 目录下执行以下命令安装动态库:
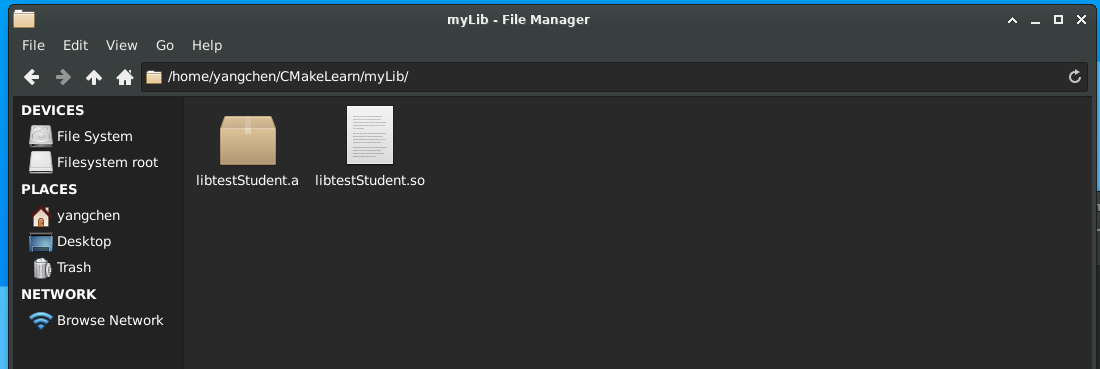
1 | sudo make install |
此时动态库安装在了指定目录 /home/yangchen/CMakeLearn/myLib/ 下:

Note :
如果没有指定安装路径,即 CMakeLists.txt 中没有下列语句:
1 | ... |
可在 /build/ 目录下执行以下命令进行安装,将 libtestStudent.so 动态库安装在指定目录 /home/yangchen/CMakeLearn/myLib 下:
参考文章:
1 | sudo make install DESTDIR=/home/yangchen/CMakeLearn/myLib |
4. 静态库编译(.a)
4.1 目录结构
同 3.1
4.2 创建文件
CMakeLists.txt
1 | cmake_minimum_required(VERSION 2.8.9) |
Note :
- 仅将
add_library()中的SHARED改为STATIC。
4.3 安装静态库
方法同 3.3 ,最后生成静态库 libtestStudent.a :
5. 简单使用静态库或动态库
5.1 头文件
先将头文件 Student.h 复制到文件夹 ~/CMakeLearn/myInclude/ 中:

5.2 创建文件
CMakeLists.txt
该处暂时先用绝对路径。
1 | cmake_minimum_required(VERSION 2.8.9) |